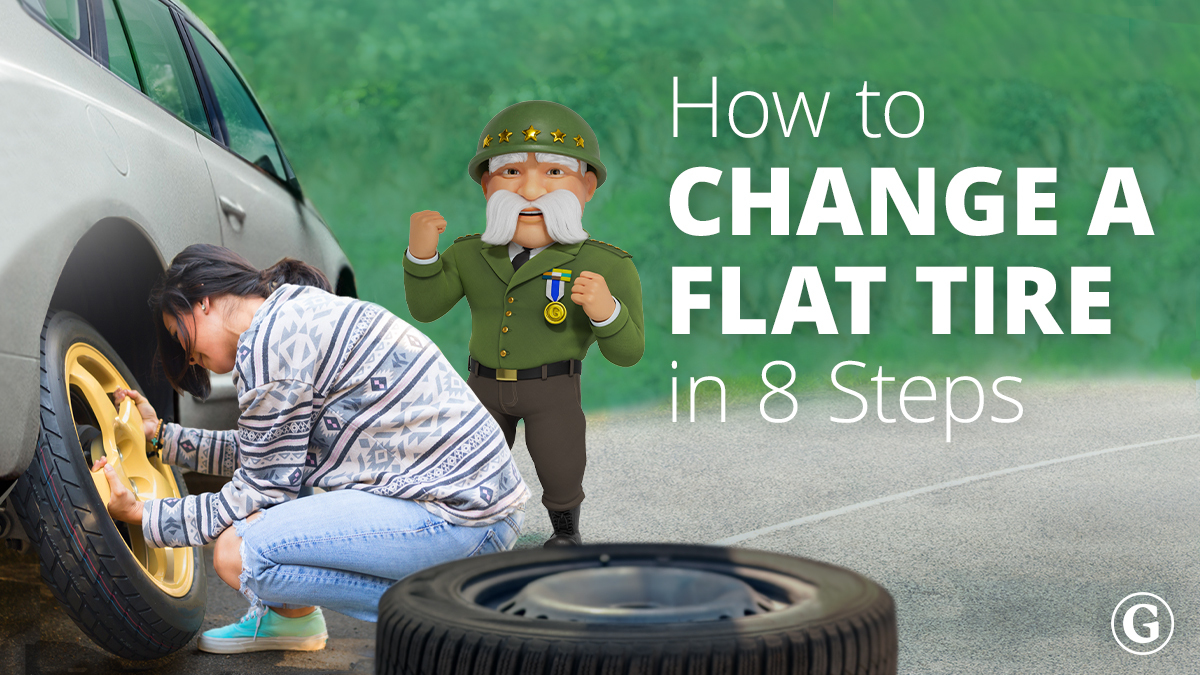
Dealing with a flat tire can be nerve-wracking, but changing it becomes a manageable task with the right tools and knowledge. By mastering the art of fixing a flat tire, you’re not only ensuring your safety but also gaining independence on the road. Learn how to change a tire with this guide so you’re prepared for unexpected road bumps.
The Tools You Need to Fix a Flat Tire
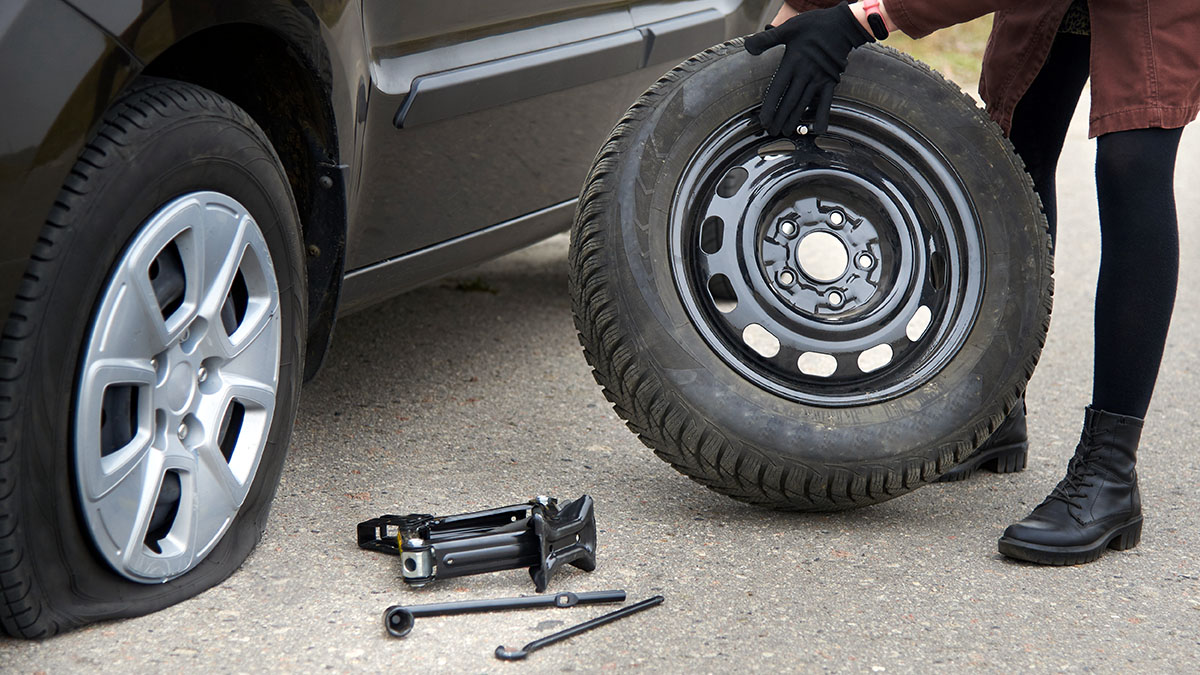
Keep the following tools and safety equipment in your vehicle in case you need to change a flat tire on the fly:
- Inflated spare tire
- Jack
- Lug wrench
- Wheel wedges
- Flashlight (with extra batteries)
- Reflective safety vest
- Your car’s manual
Changing a Flat Tire: Getting Started
Learning how to change a flat tire can prepare you for any roadside challenges that come your way. Follow these steps to fix your flat tire and get back on the road with peace of mind.
1. Ensure Your Safety
First, make sure you’re parked in a safe location, away from oncoming traffic. Turn on your hazard lights, apply the parking brake, and put on your reflective safety vest.
2. Prepare the Vehicle
Before lifting your vehicle, use wheel wedges to prevent it from rolling. Place the wedges opposite your flat tire (front or back) to stabilize the vehicle.
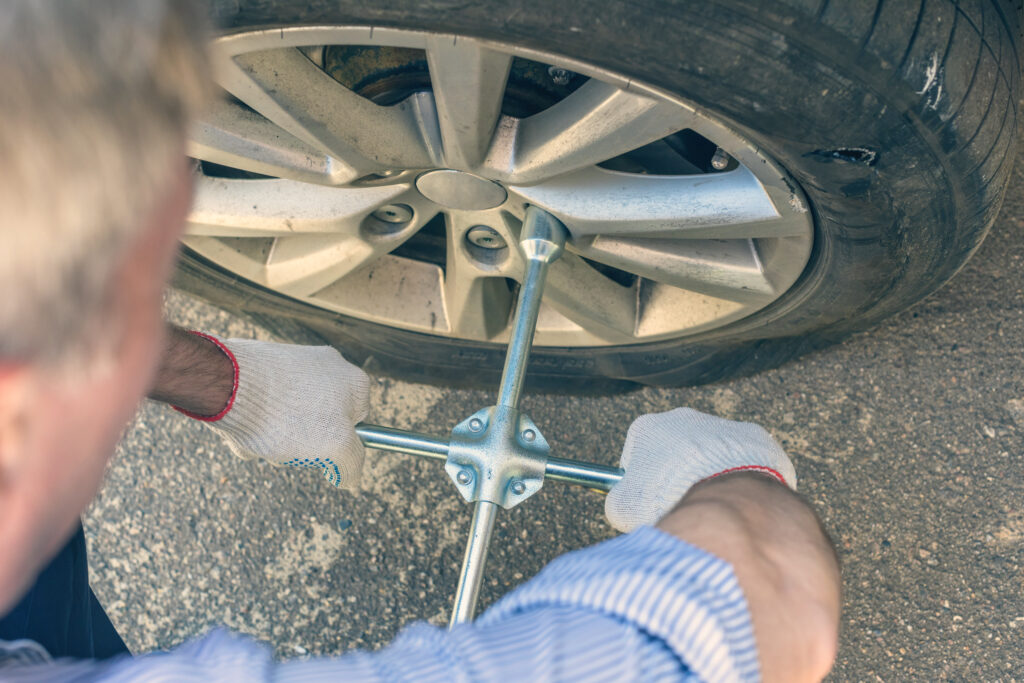
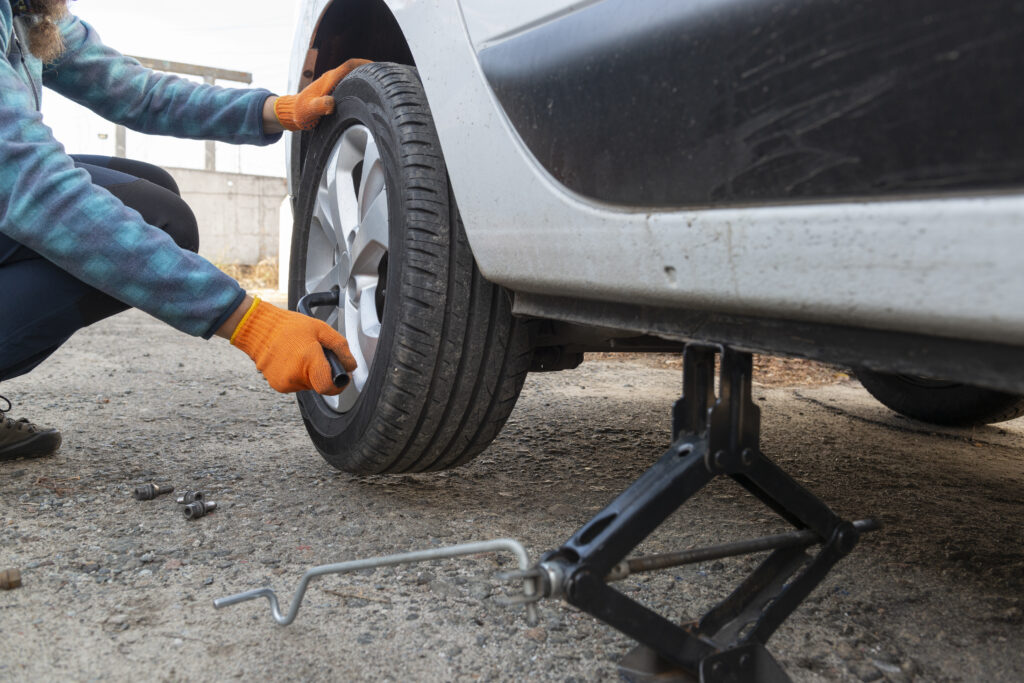
3. Loosen the Lug Nuts
Using the lug wrench, loosen the each of the lug nuts about a half turn. Don’t remove them completely, but just break their resistance.
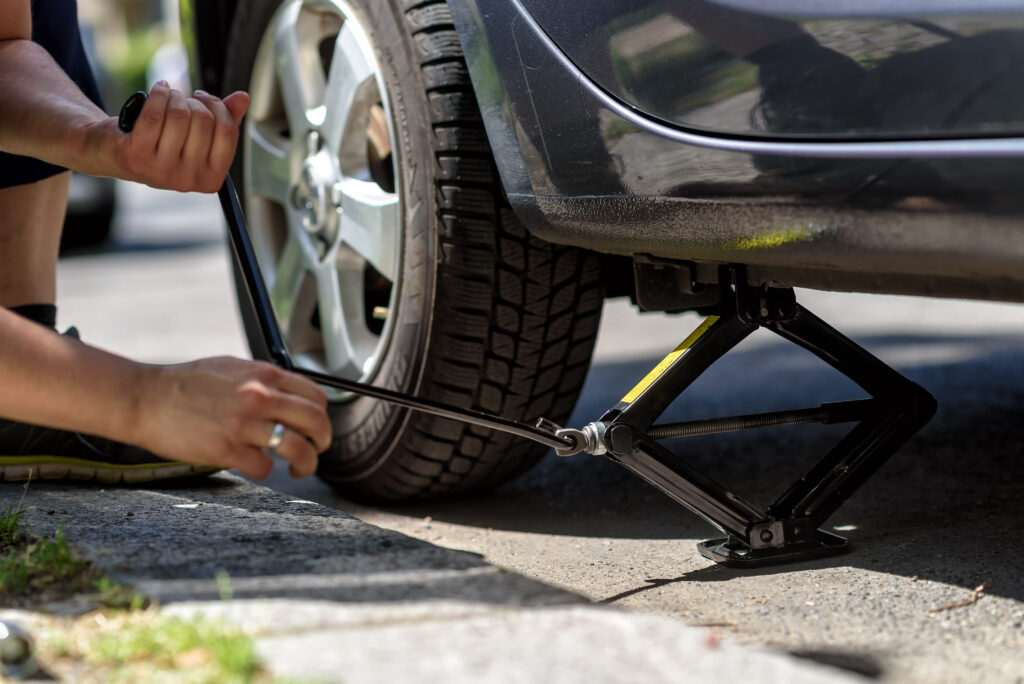
4. Lift the Vehicle
Place the jack under the vehicle, positioning it near the flat tire according to your car manual’s instructions. Pump or crank the jack to lift the tire off the ground.
5. Remove the Flat Tire
Once the tire is lifted, remove the lug nuts entirely and gently pull the tire toward you until it’s free from the hub.
6. Mount the Spare Tire
Align the spare tire with the wheel bolts and push it into place. Hand-tighten the lug nuts as much as possible.
7. Lower the Vehicle and Tighten the Lug Nuts
Lower the vehicle until the spare tire begins to touch the ground but isn’t bearing full weight. Tighten the lug nuts with the wrench, following a star pattern to evenly distribute the pressure.
8. Lower the Vehicle Completely
Once the lug nuts are tightened, finish lowering your car and remove the jack. Give the lug nuts another tug with the wrench to make sure they’re as tight as possible.
Safety Precautions
After changing your tire, follow these steps to ensure your safety before continuing your journey:
- Check the pressure in your newly added tire.
- Organize and stow all your tools and the flat tire in your vehicle.
- Plan to visit a mechanic to inspect the spare tire’s condition and repair or replace the flat tire as soon as possible.
When it comes to changing a tire, practice makes perfect. Familiarize yourself with these steps in a safe environment so you’ll be prepared when the real situation arises. If a flat tire causes a collision or another covered event, having car insurance can protect you financially. If you’re searching for an affordable policy, get a car insurance quote from The General in under two minutes.